Synopsis
Explore the story of Higglety Pigglety Pop! - an opera based on Maurice Sendak's children's book.
Part One
Jennie, a Sealyham Terrier, is sitting by a landing window in her house. A Potted Plant is on the window sill. Jennie is discontented with her lot, even though she has all she could want, she thinks there must be more to life than having everything. The singing plant suggests reasons why Jennie should stay, and is rewarded by being devoured, leaf by leaf. Jennie sets off, to find something more than everything, taking all her possessions with her in a black bag.
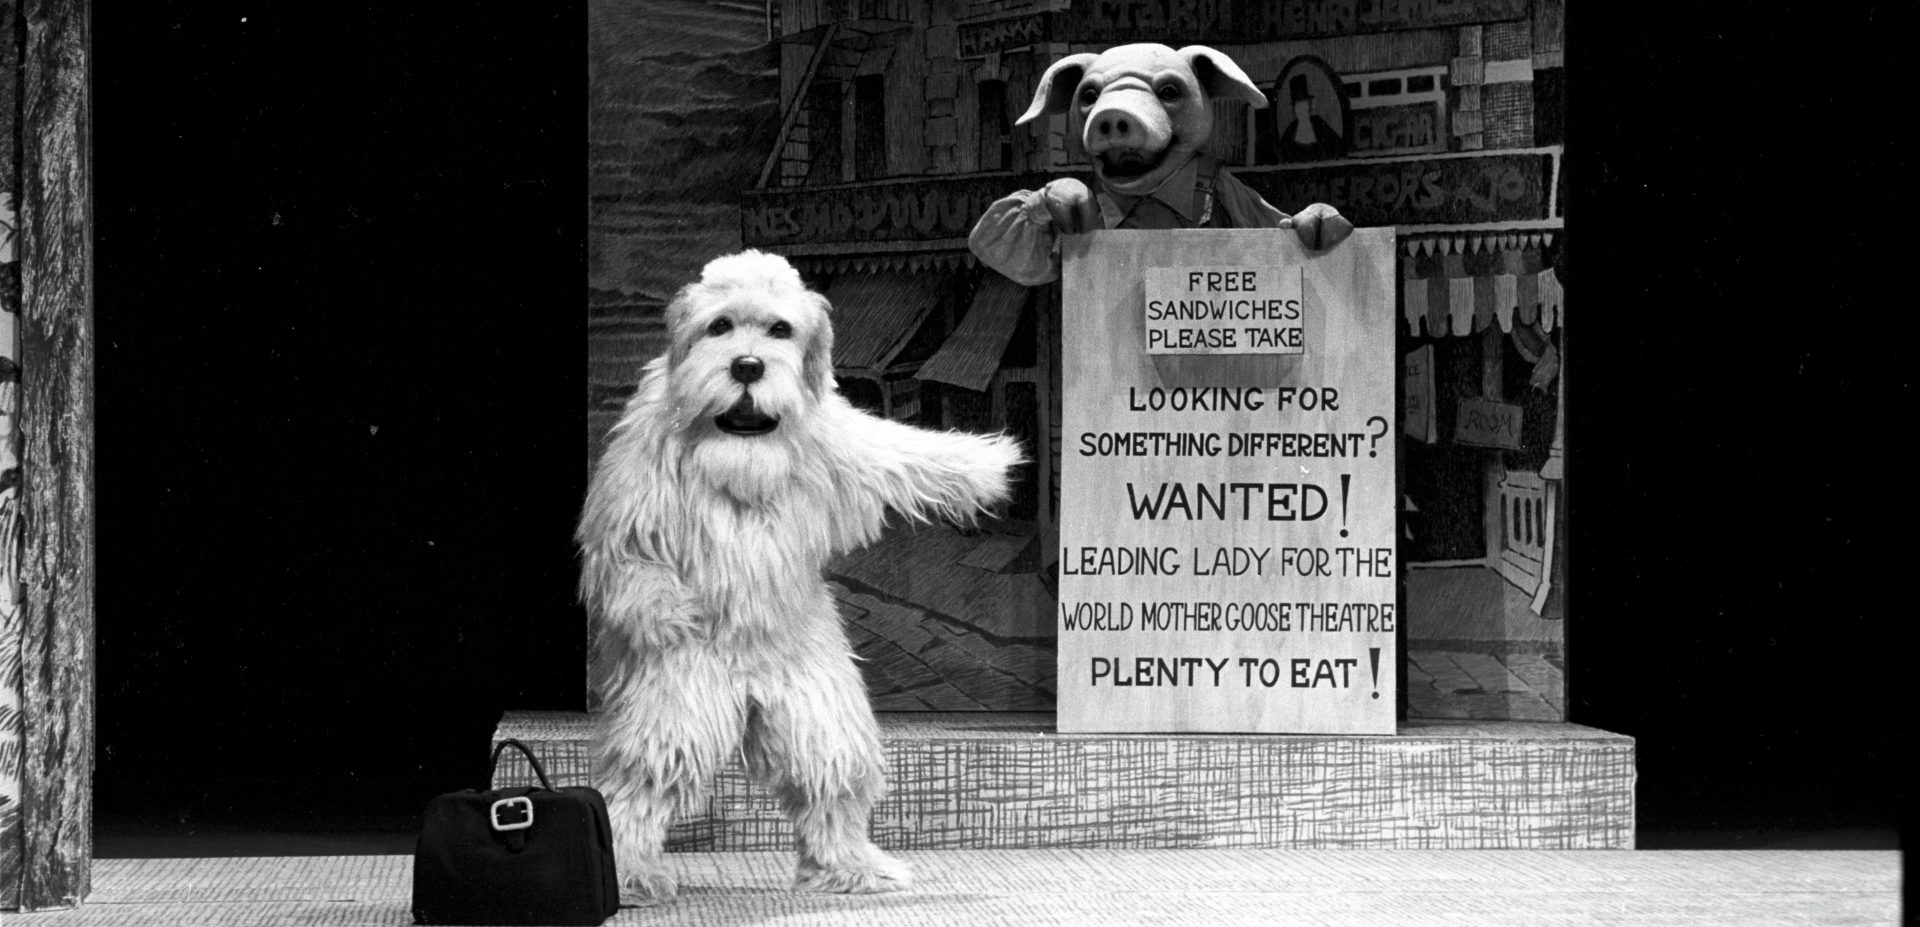
In a city street at night, Jennie meets a Pig in Sandwich-Boards who asks her what she wants in life, while dispensing free sandwiches. He tells her about the Mother Goose World Theatre who need a leading lady – but with experience. Jennie wants desperately to be that leading lady but doesn’t know what ‘experience’ is although, as always, she has food on her mind and thinks it could be something good to eat!
A milk wagon comes into view and a Cat-Milkman gets down. The Cat tells Jennie about the Big White House outside the town where he is sure she is going to be the new nurse for Baby. All the previous nurses failed to make Baby eat and disappeared. Apparently, they were fed to a Lion locked in the cellar of the Big White House. Jennie, who cannot believe that anyone would not want to eat, determines that she will succeed where the others have failed. The Cat offers to give Jennie a lift in the wagon (which she has now emptied) and off they go.
Orchestral Interlude: The Journey to the Big White House
Part Two
The Cat-Milkman and Jennie approach the porch of the Big White House. Jennie pulls the doorbell. Rhoda, the housemaid, comes to the door and Jennie pretends to faint, Rhoda pulls Jennie into the kitchen, leaving her on the floor. Jennie hoodwinks Rhoda into making her some pancakes, claiming that she has ‘jumping stomach’ and that solid food is the only sure remedy. She asks if Baby has a name. Rhoda says that everyone has forgotten it, even Baby’s parents who have been away at Castle Yonder for a very long time. Rhoda and Jennie take Baby her breakfast in response to fearsome calls and howls from off stage.
Baby is sitting on the floor of the nursery, scowling. Rhoda reminds Jennie that she has only one chance to make Baby eat, or else and leaves. Jennie sizes up Baby and the breakfast, and in the course of coaxing Baby to eat, manages to empty the breakfast tray herself. Suddenly, a terrible roar is heard from under the floor and Baby suddenly shrinks to the size of a doll. Jennie stuffs her into her black bag and Baby demolishes all Jennie’s possessions inside it. In desperation Jennie telephones Castle Yonder. Baby’s Mother asks her to send Baby back by Lion, saying that the Lion will not eat Baby if Jennie tells him Baby’s name – but she hangs up without saying what the name is.
Baby snores gently inside the bag but then shouts out and a gigantic Lion appears. He decides to eat Baby rather than Jennie; he is fed up with nurses. To stop him Jennie goes to put her head into his mouth saying that she needs the experience anyway. When she mentions the Mother Goose World Theatre, the Lion’s jaws snap shut. The Lion picks up the bag and Baby and disappears leaving Jennie alone in the darkness.
Part Three
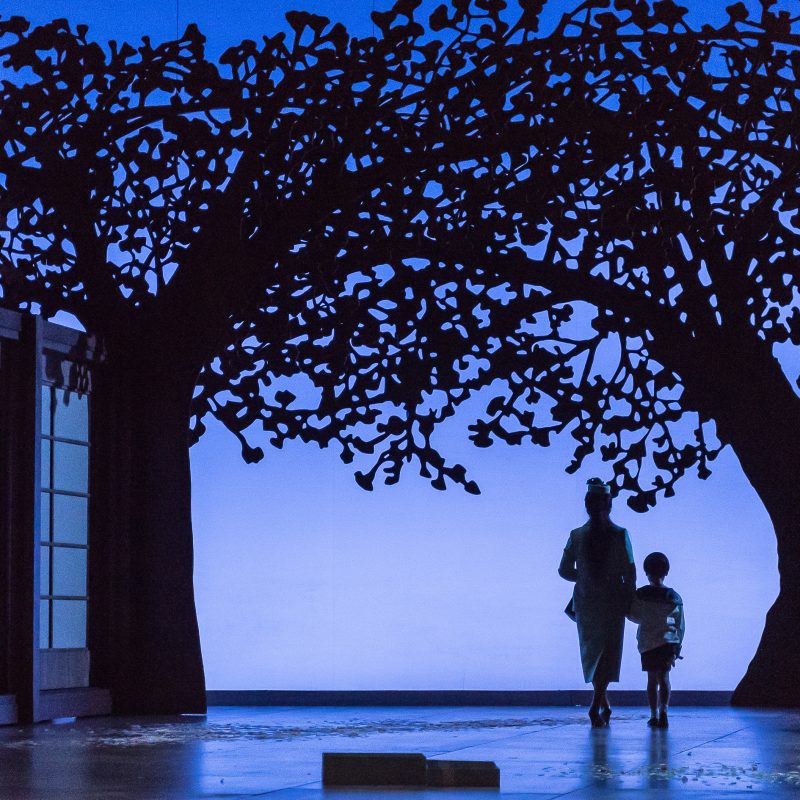
It is night. Jennie is stretched out under an Ash Tree complaining dejectedly that she has lost everything – knowing that there must be more to life than having nothing! The Ash Tree gently covers her with its leaves and Jennie drifts off to sleep.
Jennie awakes to the sound of her name being called. The Pig, the Cat and Rhoda are there: they tell her that they are all actors in the Mother Goose World Theatre and to her surprise welcome her as their new leading lady. Mother Goose appears and reveals that she is in fact Baby. She tells Jennie about the new production, Higglety Pigglety Pop! in which she will soon star. The Lion appears and they all climb on to his back to go to Castle Yonder.
Orchestral Interlude: The ride to Castle Yonder
The stage of the Mother Goose World Theatre is in view with curtains closed. Jennie is seen writing a letter explaining that she is not going back home having found far more to life than could be imagined. All the characters join in at least one Gala Performance of Higglety Pigglety Pop!
This synopsis was published in the 1985 Glyndebourne Festival Programme Book.


